Build a waitlist page that actually converts
A step-by-step guide to building a high-converting waitlist page with a working signup form, published to a live URL — no code, no database setup.
A waitlist page has exactly one job: convert a stranger's curiosity into an email address you're allowed to follow up on.
That sounds simple, and the design is. What trips people up is everything around the form — where the emails actually go, whether the page is live or stuck in a preview tab, whether bots fill your list with garbage overnight. This guide covers the whole thing: a waitlist page that converts well and is genuinely live, collecting real signups, by the end of one sitting. No code, no database setup.
(One framing note before we start: this is for your upcoming product — a feature, a course, a launch. The page collects interest in something that isn't out yet. The page itself, of course, ships today.)
What makes a waitlist page convert
Before building, know what you're building toward. High-converting waitlist pages share a short list of traits:
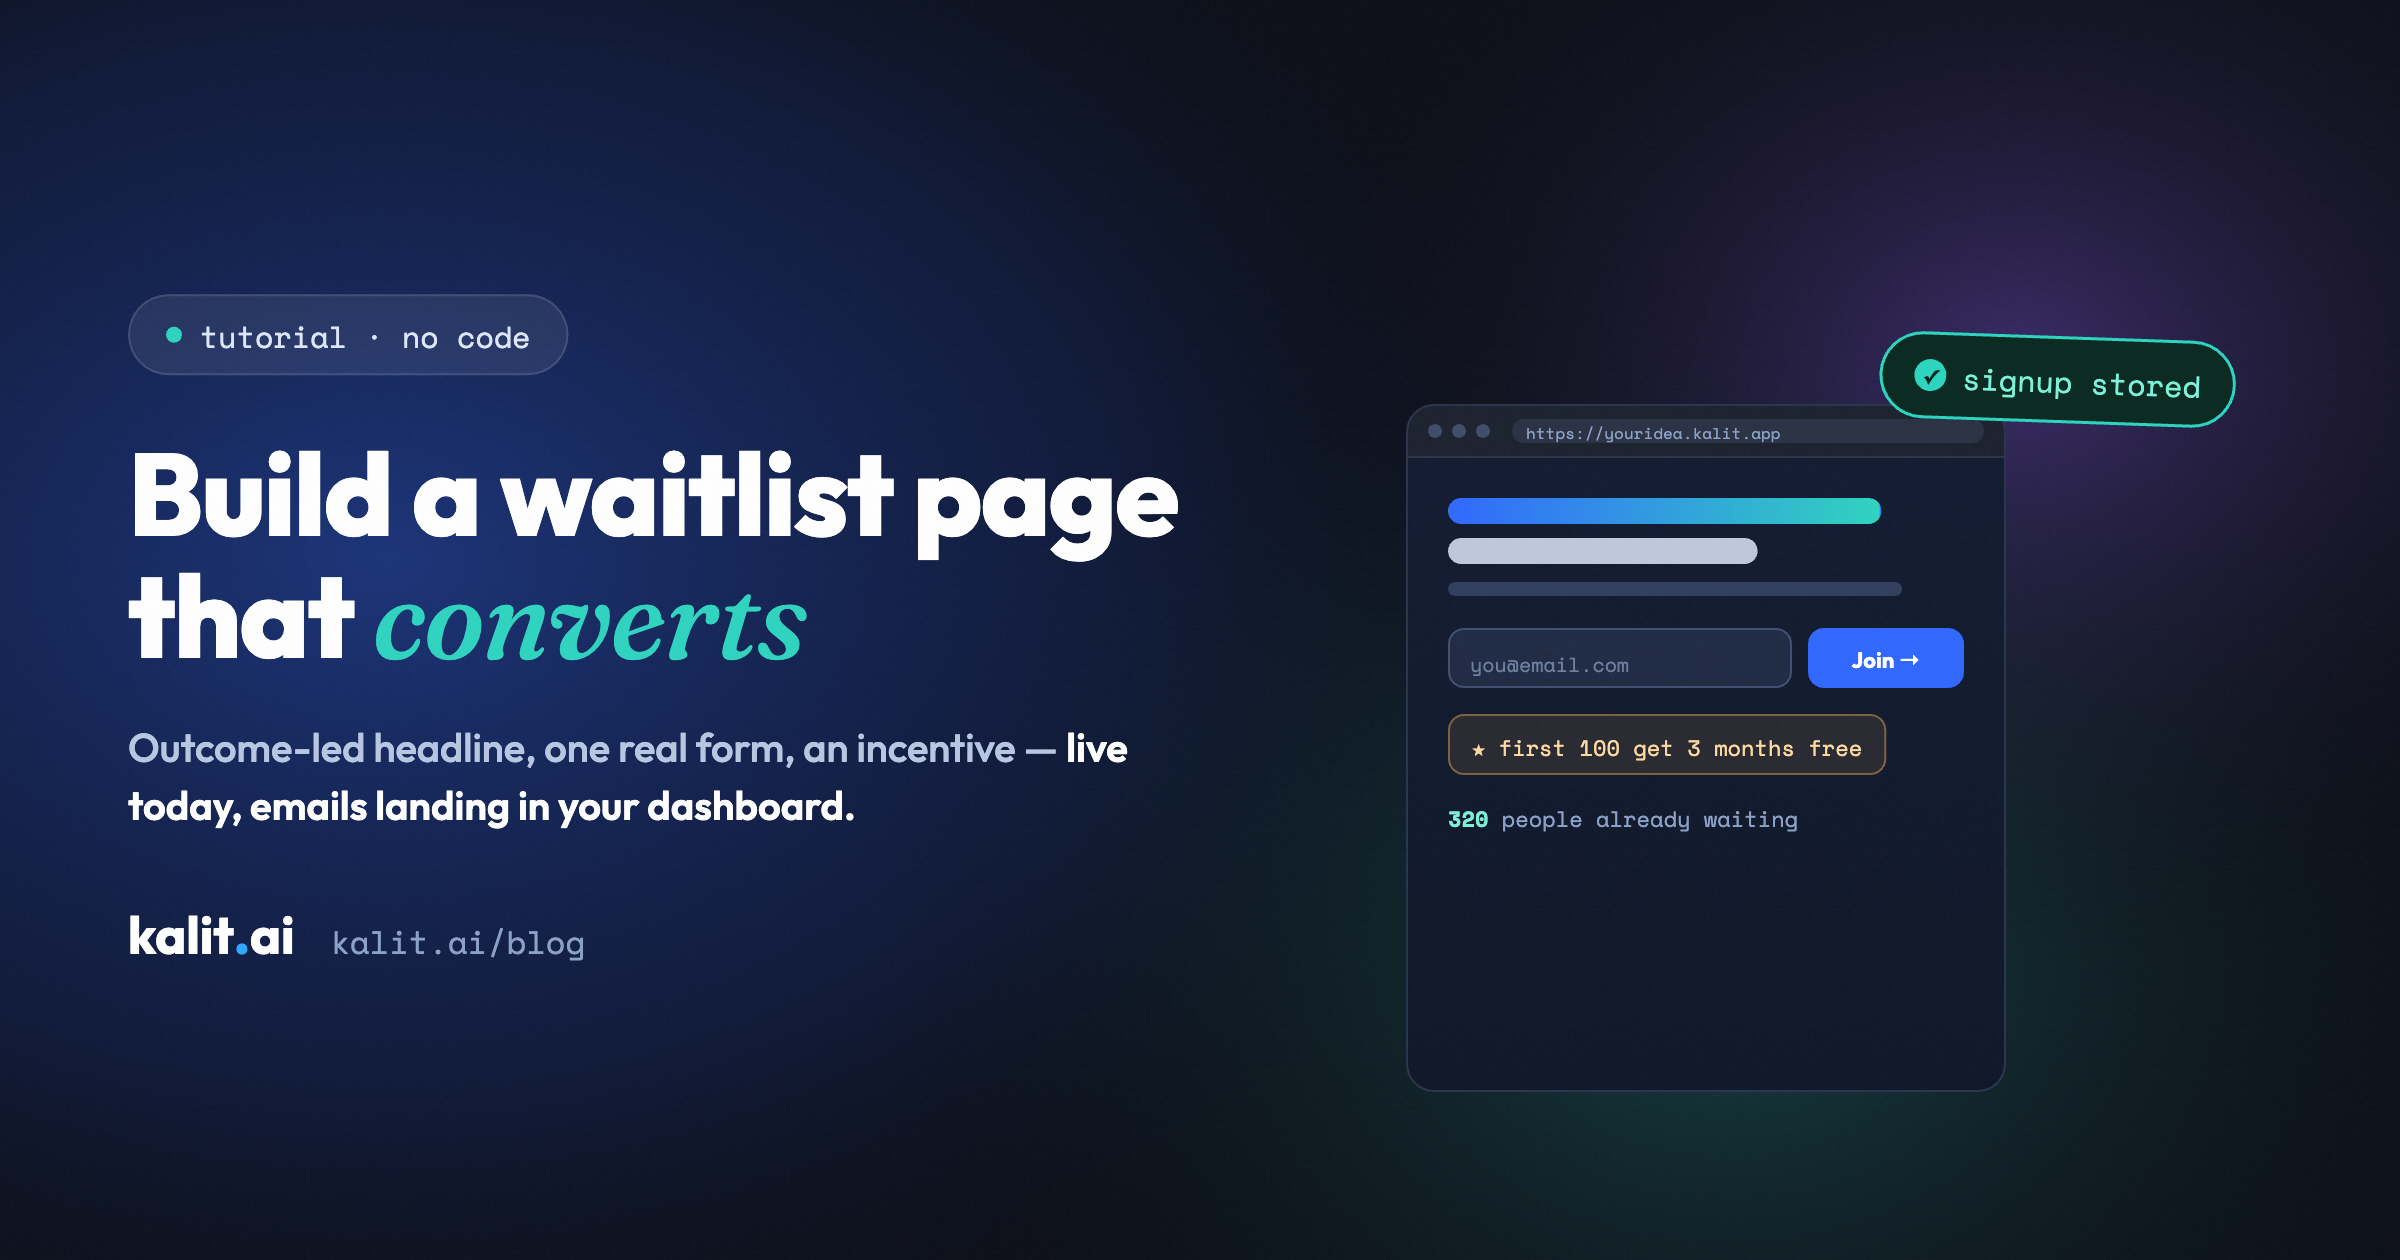
- One outcome-led headline. Not "Join our waitlist" — that describes your admin, not their benefit. Say what they'll get: "Be first to turn messy notes into clean docs." The waitlist is the mechanism; the outcome is the hook.
- A specific, believable promise. Three short lines on what the product does and who it's for. Specific beats grand. People give their email for a clear small thing, not a vague big thing.
- A single form, asking the minimum. Email alone converts best. Add a name only if you'll use it. Every extra field is a reason to leave.
- A reason to act now. Early-access perks, a launch discount, "first 100 get it free." Scarcity that's true, not invented.
- Light social proof, if you have it. "320 people already waiting" works once the number is real. Don't fake it — an empty claim is worse than none.
- A hint of what's next. One line setting expectations ("we'll email you the week we launch") lowers the perceived risk of handing over an address.
Keep the whole thing to one screen. A waitlist page that needs scrolling is usually overselling.
Step 1 — Write the description (10 minutes)
You're going to describe this page to Kalit in plain English, so draft the substance first:
- The outcome headline (the benefit, not "join the waitlist").
- Three benefit lines (what it does, who it's for, why now).
- The incentive (what early signups get).
- The form fields (email, maybe name).
- The vibe (two or three adjectives).
Here's a worked example you can adapt:
Outcome: "Turn a weekend of meeting notes into clean, shareable docs — automatically." Who: busy managers and founders. Incentive: first 100 signups get 3 months free at launch. Fields: email only. Vibe: calm, minimal, trustworthy.
That's your raw material. Now it becomes a prompt.
Step 2 — Build it with one prompt (10 minutes)
Open Kalit, start a new project, and describe the page. Fold your Step 1 notes straight in:
"A waitlist landing page for a tool that turns meeting notes into clean, shareable docs automatically. Audience: busy managers and founders. One outcome-led headline, three short benefit lines, and a single email signup form. Add an incentive line: 'First 100 to sign up get 3 months free at launch.' Include a small 'what happens next' note under the form. Tone: calm, minimal, trustworthy, dark theme. Make it one screen, mobile-friendly."
Hit build. Kalit drafts the copy, lays out the page, and — this is the part that matters — wires the signup form to a real, managed backend. Those emails land somewhere you can open and export from your dashboard. There's no "now connect your database" step, because the place the data goes already exists.
Then iterate in sentences: "make the headline bigger," "move the incentive above the form," "add a line of social proof under the button." Two or three tweaks is normal. No code, no debugging.
Step 3 — Make sure the form is real (and protected)
This is where DIY waitlist pages quietly fail. A form that looks fine but doesn't actually store emails — or stores them somewhere wide open to bots — is worse than no page, because you think you're collecting a list.
On a Kalit build, before you publish:
- Submit a test signup. Use your own email, then check it landed in your dashboard. That round trip is the whole product working.
- Trust the hardening. Kalit applies it by default: the form endpoint is rate-limited and spam-protected, inputs are validated server-side, the page ships over HTTPS, and there are no exposed keys. A public form will attract bots; this is what keeps your list real. (More on what that covers: what "secure by default" actually means.)
Step 4 — Publish to a live URL (one click)
Click Publish. Kalit runs its production checks and hands you a live URL — hosted, HTTPS'd, ready to share. No choosing a host, no deploy pipeline.
Launch on the free yourname.kalit.app URL today, or connect your own domain in project settings — Kalit shows the exact DNS records and handles the certificate. (Custom domains come with Starter, €29/month.) For a waitlist, getting it live today beats waiting on the perfect domain; you can connect the domain while signups are already coming in.
Step 5 — Drive the right traffic (the same day)
A waitlist page with no visitors collects no emails. You don't need a crowd, you need the right small one:
- Post it where your future users already gather, in their words, with the outcome as your hook.
- Share it from your own accounts with the one-line promise as the caption.
- Every published Kalit project comes with a one-tap share card — "I just launched the waitlist for…" with your live URL. Use it; it's the most honest announcement there is, because the link works.
Then watch the conversion rate. If more than ~20–30% of relevant visitors sign up, your promise is landing. If it's low, the headline or the incentive is the usual culprit — and changing either is one sentence and a republish.
Step 6 — Keep the list warm
A waitlist decays if you go silent. Email the list occasionally before launch — a progress note, a sneak peek, a question about what they most want. People who hear from you are people who remember they signed up. When you do launch, that warm list is your first wave of real users (and, often, your first paying ones).
The whole sitting, summarized
Write the description (10 min) → build with one prompt (10 min) → test the real form → publish (one click) → drive a little traffic → keep the list warm. A converting, genuinely live waitlist page — emails landing in a dashboard, bots kept out — in one sitting, no code.
Build your waitlist page free → — describe it, publish it today, and start collecting real signups before the idea cools. No code. No cliffs.
Related: How to validate your SaaS idea first · Launch an MVP without writing code.